How to Detect HVAC Condensation Leaks
HVAC condensation leaks are usually detected by their pattern: moisture appears during cooling cycles, collects near the air handler, drain pan, ducts, or vents, and may disappear when the system shuts off. Because these leaks can mimic plumbing or roof problems, the first step is to confirm when the moisture appears, where it starts, and whether it follows the HVAC system.
If you’ve already noticed warning signs like dripping vents or water near your unit, it helps to first understand signs of HVAC condensation problems. This guide focuses on the next step: how to confirm whether condensation is the source and where it’s coming from.
For a broader approach to tracking moisture throughout your home, you can also review how to find hidden moisture in different areas of your home, which helps identify overlapping or hidden moisture sources.
When to Suspect an HVAC Condensation Leak
Before inspecting parts, confirm whether the moisture pattern fits condensation. Not all water near HVAC equipment comes from condensation, but timing and location usually narrow the source quickly.
Moisture appears only when the system is running
One of the clearest indicators of a condensation-related issue is timing. Condensation leaks typically occur during active cooling cycles, when the system is removing moisture from indoor air.
You may notice:
- Water appearing during hot or humid days
- Moisture increasing during long cooling cycles
- Dry conditions when the system is off
If moisture consistently follows HVAC operation, condensation is far more likely than a plumbing or structural leak.
Water is located near ducts, vents, or the air handler
Condensation leaks tend to occur in predictable areas connected to airflow and cooling components. These include:
- The indoor air handler or furnace base
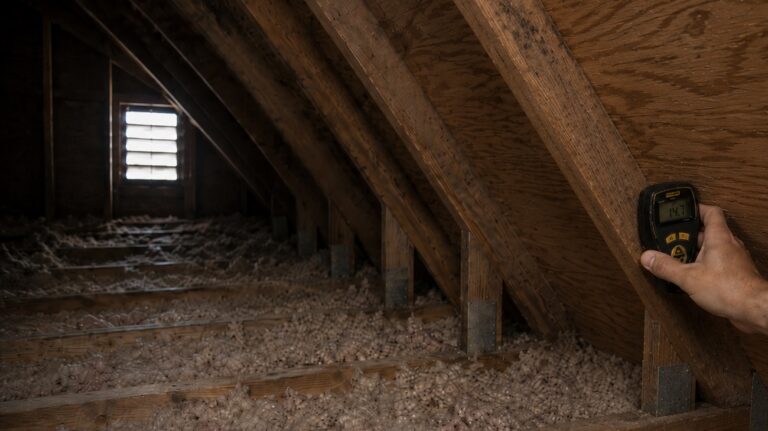
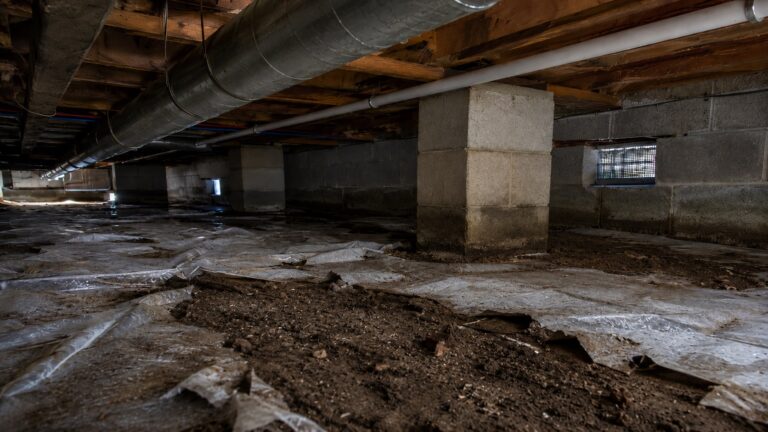
- Duct runs, especially in attics or crawl spaces
- Ceilings near supply vents
- Areas directly below HVAC components
If moisture appears along these paths, it often traces back to condensation forming on cold surfaces or escaping from drainage systems.
Moisture comes and goes in cycles
Unlike constant plumbing leaks, condensation problems often appear intermittently. This can make them harder to diagnose, as the issue may seem to resolve on its own.
In reality, intermittent moisture is a common sign of:
- Partial drain line blockages
- Humidity-driven condensation spikes
- Airflow issues that worsen under load
Recurring moisture that follows a pattern should always be investigated further, even if it disappears temporarily.
Step-by-Step Process to Detect HVAC Condensation Leaks
Detecting a condensation leak requires more than spotting water. You need to confirm how the moisture behaves, where it originates, and how it moves through your home. The following step-by-step process helps isolate the source accurately.
In most homes, check in this order: the air handler base, the drain pan, the condensate drain line, nearby duct insulation, ceiling areas around vents, and then hidden paths above or behind the visible moisture.
Step 1: Confirm the timing of the moisture
Start with timing. Condensation leaks usually follow cooling cycles, while plumbing and roof leaks follow different patterns.
Ask yourself:
- Does the moisture appear only when the AC is running?
- Does it increase during hot or humid weather?
- Does it stop when the system shuts off?
If the answer to these questions is yes, condensation is the most likely source. If moisture is constant, you may be dealing with a plumbing issue instead.
Step 2: Inspect around the indoor HVAC unit
The indoor air handler is one of the first places to check because condensate collects and drains from this part of the system. Look around the base, platform, nearby floor, and any secondary drain pan below the unit.
Look for:
- Water pooling on the floor or platform
- Damp surfaces near the unit
- Rust or corrosion on nearby components
- Signs of overflow from the drain pan
Even small amounts of recurring moisture in this area can indicate that condensation is not draining properly.
If you suspect a drainage issue, a more focused inspection is covered in how to inspect HVAC drain lines for blockages, which explains how to identify common clog-related problems.
Step 3: Check the drain pan and condensate drain line
The condensate drain system is one of the most common sources of HVAC condensation leaks. When it fails, water that should safely exit your home can back up and overflow.
Carefully inspect the drain pan and nearby drain line area for:
- Standing water inside the drain pan
- Water marks or residue indicating previous overflow
- Slow or no drainage from the line
- Visible debris or buildup inside accessible sections
Partial clogs are especially important to watch for. They may allow normal drainage during light use but overflow when the system runs for longer periods. This leads to intermittent leaks that can be difficult to trace.
Do not reach inside energized HVAC equipment or open sealed panels unless you know how to shut the system off safely. If water is near wiring, switches, or control boards, stop the inspection and call an HVAC professional.
If repeated overflow is suspected, understanding the underlying cause can help guide next steps. Many of these issues relate to moisture production and system behavior, which are explained in why HVAC systems produce excess condensation.
Step 4: Examine duct surfaces and insulation
Condensation does not always originate from drainage failures. In many cases, it forms directly on cold duct surfaces and spreads into surrounding materials.
Inspect visible ductwork for:
- Water droplets forming on metal duct surfaces
- Damp or sagging insulation around ducts
- Drips coming from joints or seams
- Moisture on nearby framing or surfaces
Unlike many plumbing leaks, duct condensation often appears as scattered sweating, damp insulation, or multiple small drip points instead of one steady leak. Pay special attention to ducts running through hot attics, crawl spaces, garages, or other humid unconditioned areas.
If duct-related moisture is present, it may also be helpful to review signs of moisture in HVAC ducts to better understand how condensation develops within airflow systems.
Step 5: Inspect vents and ceiling areas
Moisture around vents is a common sign of condensation leaks, but the source is often hidden above the visible surface. Careful inspection helps determine whether the issue originates from HVAC components.
Check for:
- Water stains or discoloration around vents
- Dripping or wet vent covers
- Soft or sagging drywall near air registers
- Damp spots directly below vents
These signs often indicate that condensation is forming inside ducts or on vent surfaces and then dripping onto nearby materials.
If moisture appears around a vent, do not assume the vent cover is the source. The water may be forming on the duct above the ceiling, traveling along insulation, or dripping from a nearby joint. For broader hidden-moisture tracing, review how to find hidden moisture in different areas of your home.
Step 6: Trace the moisture path back to the source
Once visible moisture is identified, the next step is to trace it back to where it originates. This step separates surface symptoms from the actual cause.
Follow these principles:
- Water usually travels downward or outward, though it can wick sideways through insulation or porous materials
- The source is usually above, uphill, or upstream from the visible damage
- Moisture may travel along ducts, framing, or insulation before appearing
Start at the visible moisture location and move backward toward the HVAC system, checking each connected component. The first location where moisture appears is typically closest to the source.
How to Confirm Condensation vs Other Types of Leaks
After identifying moisture and tracing its path, confirm whether the source is actually HVAC condensation before assuming the problem is a roof leak, plumbing leak, or drain overflow.
Condensation leaks have specific patterns that set them apart from plumbing and roof-related issues.
If the water is clearly coming from the HVAC unit but the exact source is still unclear, compare these findings with why HVAC units leak water indoors, which covers the broader causes of indoor HVAC water leaks.
Signs the moisture is from HVAC condensation
Condensation-related leaks usually follow predictable behavior tied to system operation and humidity conditions.
- Moisture appears during cooling cycles
- Water is located near ducts, vents, or the air handler
- The problem worsens during hot or humid weather
- Moisture may stop when the HVAC system shuts off
- Water appears in multiple connected areas rather than a single point
If most of these conditions are present, condensation is the likely source.
Signs the moisture may be from plumbing
Plumbing leaks behave differently and tend to produce consistent, localized moisture.
- Water is present regardless of HVAC operation
- Moisture is concentrated near pipes or fixtures
- The leak remains constant over time
- No change in moisture levels during cooling cycles
If moisture does not follow HVAC usage patterns, it should be investigated as a plumbing issue instead.
Signs the moisture may be from roof leaks
Roof-related moisture problems are typically tied to weather conditions rather than indoor system activity.
- Water appears during or after rainfall
- Stains expand during storms
- Moisture is not linked to HVAC operation
- Damage may spread across broader ceiling areas
If moisture appears only during rain events, a roof leak is more likely than a condensation issue.
When moisture patterns overlap, check the same area during different conditions: while the AC is running, after the system shuts off, and after rain. A condensation leak should follow HVAC operation more closely than weather or plumbing use.
Common HVAC Condensation Leak Locations to Check
After checking the visible moisture pattern, focus on the HVAC parts most likely to collect, drain, or sweat condensation.
Condensate drain line
The drain line is often the first suspect when water pools near the indoor unit. A restriction can let water drain during light use but overflow during long cooling cycles.
Look for:
- Slow or no drainage
- Water pooling near the unit
- Signs of previous overflow
Even partial blockages can cause intermittent leaks, making this area especially important to inspect.
Drain pan
The drain pan collects condensation before it exits the system. If it becomes damaged or overwhelmed, water can escape into the surrounding area.
Warning signs include:
- Standing water inside the pan
- Rust or corrosion
- Cracks or visible damage
Drain pan issues often go unnoticed until overflow becomes visible.
Evaporator coil housing
The evaporator coil produces condensation as it cools air. If airflow is restricted or condensation production increases, water may overflow from this area.
Detection signs include:
- Moisture inside the unit housing
- Water escaping from seams or edges
- Increased condensation during long cooling cycles
Because coil-area moisture can involve restricted airflow, excess condensation, freezing coils, or drainage failure, this part of the system often requires professional evaluation.
Ductwork and vent systems
Condensation on duct surfaces is a common source of distributed moisture problems. Unlike drainage issues, this type of condensation spreads along airflow paths.
Look for:
- Sweating ducts
- Damp insulation
- Water dripping from duct joints
- Moisture appearing near vents
This type of leak often affects multiple areas of the home and may require further investigation into airflow or insulation conditions.
When Detection Requires Professional Help
Basic inspection can identify many condensation leaks, but stop DIY inspection when the issue involves electrical components, hidden ductwork, repeated overflow, or moisture spreading into ceilings, insulation, or framing.
You should consider professional evaluation if:
- The source of moisture cannot be clearly identified
- Leaks continue despite clearing visible blockages
- Moisture is spreading into structural areas
- Mold odors or visible growth are present
- Condensation returns after temporary fixes
In these cases, underlying system issues may be contributing to excessive condensation or improper drainage.
Once the source is confirmed, preventing the issue from returning becomes the next priority. Long-term strategies are covered in how to prevent HVAC condensation problems.
FAQ: Detecting HVAC Condensation Leaks
How do I know if my HVAC is leaking condensation?
Your HVAC is likely leaking condensation if water appears during cooling cycles, collects near the air handler, drain pan, ducts, or vents, and dries up when the system is off. A repeating on/off moisture pattern is one of the strongest clues.
Where do HVAC condensation leaks usually start?
Most condensation leaks begin at the condensate drain line, drain pan, or evaporator coil housing. If the leak appears near vents or duct runs instead of the unit, condensation may be forming directly on cold duct surfaces.
Can I detect a blocked HVAC drain line myself?
In many cases, yes. Signs such as slow drainage, standing water in the drain pan, or water pooling near the unit often indicate a blockage. However, deeper or hidden clogs may require professional inspection.
Why does my HVAC leak only sometimes?
Intermittent leaks are common with condensation problems. They often occur during longer cooling cycles, higher humidity levels, or when partial drain line blockages restrict water flow only under heavier use.
How long can condensation leaks go unnoticed?
Condensation leaks can go unnoticed for weeks or longer when the water drips into insulation, ceiling cavities, attic platforms, or areas behind vents. Stains, sagging drywall, musty odors, or repeated dampness often appear after the leak has been active for some time.
Conclusion: Detecting HVAC Condensation Leaks Early
HVAC condensation leaks are easiest to detect by comparing timing, location, and moisture behavior. If water appears during cooling cycles, starts near the air handler, drain pan, ducts, or vents, and stops when the system is off, condensation is a likely source.
A simple inspection order helps prevent misdiagnosis: confirm the timing, check the air handler and drain system, inspect duct surfaces and vent areas, then trace the moisture path back toward the first wet component.
Once a condensation leak is confirmed, understanding why it occurs is the next step. For a deeper explanation of root causes, you can explore why HVAC systems produce excess condensation.
Key Takeaways
- Condensation leaks typically appear only when the HVAC system is running
- Moisture near ducts, vents, or the air handler often points to condensation
- Drain lines and drain pans are the most common sources of leaks
- Trace moisture backward from the visible stain or drip toward the first wet HVAC component
- Condensation leaks are often mistaken for plumbing or roof problems
- Early detection helps prevent long-term moisture and structural damage
One Comment
Comments are closed.