How to Remove Mold From Drywall: Safe and Effective Steps for Homeowners
Mold can be removed from drywall only when the growth is limited to the surface and the drywall is still firm, dry, and structurally sound. If the drywall is soft, crumbly, repeatedly moldy, water-damaged, or moldy on both sides, the affected section usually needs to be removed instead of scrubbed.
This guide explains how to clean small surface mold patches safely, when to stop and replace drywall, what protective equipment to use, and how to keep mold from returning after cleanup.
For broader cleanup guidance, this article supports our main mold removal hub: How to Remove Mold Permanently.
Safety note: Do not attempt DIY drywall mold removal if the affected area is large, the wall is soft or crumbling, mold may be inside the wall cavity, water came from sewage or flooding, or anyone in the home has significant mold-related symptoms. In those cases, use professional mold remediation.
Can Mold Be Removed From Drywall?
Yes, mold can sometimes be removed from drywall—but only when contamination is limited to the surface and the drywall remains structurally sound. In many situations, mold penetrates beneath the surface and requires drywall removal instead of cleaning.
Use the condition of the drywall, not just the size of the stain, to decide whether cleaning is safe.
Surface Mold vs Deep Mold Contamination
| Mold Type | Description | Recommended Action |
|---|---|---|
| Surface Mold | Small visible spots on intact drywall surface | Clean using proper mold removal method |
| Moderate Mold | Spreading patches or recurring mold growth | Remove affected drywall sections |
| Severe Mold | Large areas or deep wall contamination | Remove drywall and consider professional help |
If mold symptoms appear but are not yet visible on the wall surface, hidden contamination may already be present. Review our guide on signs of mold behind walls to identify early warning indicators.
When Moldy Drywall Must Be Removed Instead of Cleaned
In many cases, cleaning mold from drywall is not enough. Because drywall is porous, mold roots can penetrate beneath the visible surface, making full removal difficult without cutting out contaminated material.
When drywall has absorbed moisture or mold has moved beyond the painted surface, replacement is usually safer than repeated cleaning.
Warning Signs That Require Drywall Removal
| Condition | Why Removal Is Necessary |
|---|---|
| Drywall feels soft or crumbly | Material integrity is compromised |
| Mold covers large areas | Cleaning may leave hidden contamination |
| Repeated mold growth in same area | Indicates deeper moisture problem |
| Strong musty odor persists | Suggests hidden mold inside wall |
| Drywall has water damage | Moisture weakens mold resistance |
If drywall replacement becomes necessary, follow proper repair procedures described in our guide on how to fix water-damaged drywall.
Why Mold on Drywall Should Be Handled Carefully
Mold growth on drywall can affect both indoor air quality and structural materials. Even small mold patches release spores into the air, which can spread contamination to nearby surfaces.
Potential risks associated with drywall mold include:
- Respiratory irritation
- Allergic reactions
- Musty indoor odors
- Spread of mold to nearby materials
- Damage to drywall structure
If the odor, staining, or moisture pattern suggests mold behind the wall rather than only on the drywall face, review the warning signs in signs of mold behind walls before disturbing the area.
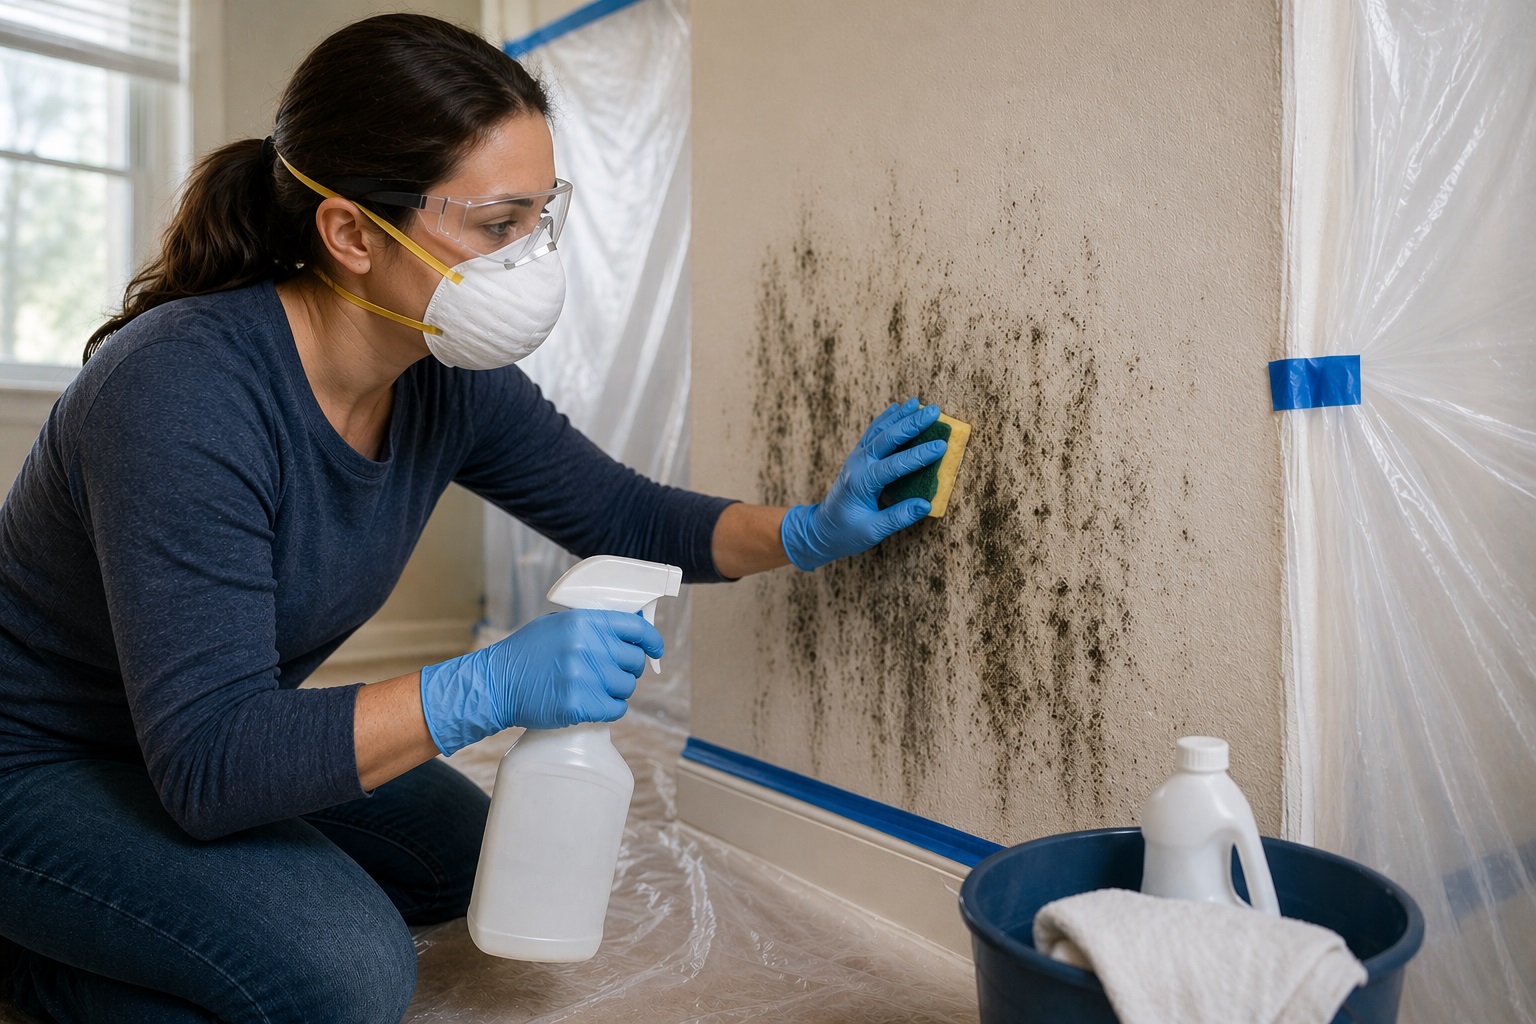
Tools and Safety Equipment Needed for Mold Removal
Proper safety equipment protects you from inhaling mold spores and prevents contamination from spreading during cleanup.
| Item | Purpose |
|---|---|
| N95 respirator or better | Protect lungs from airborne mold spores during cleaning |
| Protective gloves | Prevent skin contact |
| Safety goggles | Protect eyes from airborne particles |
| Plastic sheeting | Contain mold spread |
| Spray bottle | Apply cleaning solution |
| Soft brush or sponge | Remove mold from surface |
| Moisture meter | Confirm area dryness |
Confirming dryness before mold removal is essential. Moisture that remains inside walls can cause mold to return quickly. You can verify moisture conditions using the thresholds explained in our guide on moisture levels that indicate water damage.
Step-by-Step: How to Remove Mold From Drywall Safely
Removing mold from drywall requires more than simply wiping the surface. Mold spores spread easily, so proper containment, cleaning methods, and moisture control are essential to prevent the contamination from returning.
Step 1 — Fix the Moisture Source First
Mold removal should never begin until the moisture source has been fully corrected. Cleaning mold without addressing moisture allows mold to return quickly, often within days.
Common moisture sources that lead to drywall mold include:
- Plumbing leaks inside walls
- Roof leaks or ceiling failures
- Bathroom condensation and steam buildup
- Window or exterior wall leaks
- High indoor humidity levels
If the moisture source is not obvious, identify the likely cause before cleaning. Start with what causes mold in walls for common moisture sources, then use a moisture meter if the wall may still be damp.
Step 2 — Contain the Mold Area
Containment prevents mold spores from spreading to other parts of the home during cleaning. Even small mold disturbances can release airborne spores.
How to Contain Mold During Removal
- Seal doorways using plastic sheeting
- Cover nearby furniture and flooring
- Close HVAC vents in the affected room
- Limit foot traffic during cleanup
- Use disposable protective materials whenever possible
Proper containment is especially important in living spaces where mold spores can circulate through ventilation systems.
Step 3 — Wear Proper Personal Protective Equipment (PPE)
Protective equipment reduces exposure to mold spores and prevents contamination during removal.
Recommended PPE for Mold Removal
| Equipment | Purpose |
|---|---|
| N95 respirator | Filters airborne mold spores |
| Disposable gloves | Protects skin during cleaning |
| Safety goggles | Protects eyes from spores |
| Disposable clothing | Prevents mold transfer to other areas |
Even minor mold removal projects should include basic protective equipment to reduce health risks.
Step 4 — Prepare a Safe Mold Cleaning Solution
Using the correct cleaning solution is critical when removing mold from drywall. Some household cleaners are effective for surface mold, while others may damage drywall materials or fail to remove contamination properly.
Common Mold Cleaning Solutions for Drywall
| Solution | When to Use | Notes |
|---|---|---|
| Mild detergent and water | Light surface mold | Safe for most drywall surfaces |
| Hydrogen peroxide solution | Moderate surface mold | Penetrates porous materials |
| Commercial mold cleaner | Persistent mold stains | Follow manufacturer instructions |
Bleach is often used for hard surfaces but is generally less effective on porous materials like drywall. It may remove visible stains without fully addressing mold growth beneath the surface.
Step 5 — Remove Mold From the Drywall Surface
Once containment and cleaning solutions are ready, clean only intact painted drywall. Do not scrub drywall that is soft, swollen, crumbling, or still damp.
How to Clean Mold From Drywall
- Lightly mist the mold area to reduce airborne spores
- Apply cleaning solution to the moldy surface
- Allow the solution to sit for the contact time recommended on the product label
- Gently scrub using a soft brush or sponge
- Wipe away residue using clean cloths
- Repeat cleaning if mold stains remain
Avoid aggressive scrubbing that damages drywall surfaces. Removing too much material weakens the drywall and may require replacement.
Step 6 — Dry the Area Thoroughly After Cleaning
Drying is one of the most important steps in preventing mold from returning. Even after visible mold is removed, moisture left behind can restart growth.
How to Dry Drywall After Mold Removal
- Use fans to increase air circulation
- Operate dehumidifiers to reduce humidity
- Maintain indoor humidity between 30–50%
- Keep the area ventilated during drying
- Monitor moisture levels until dry
Humidity control is especially important during drying. If the room stays damp after cleanup, use the placement and sizing guidance in how to choose and use a dehumidifier effectively.
Step 7 — Treat the Cleaned Surface and Keep It Dry
After cleaning and drying, treating the surface according to the cleaner’s label can reduce remaining surface contamination, but it will not solve mold inside damp or damaged drywall.
How to Disinfect Mold-Treated Drywall
- Apply a disinfecting solution to the cleaned area
- Allow sufficient contact time
- Wipe surface gently without oversaturating
- Allow area to dry completely
Maintaining dryness after disinfecting is essential. If moisture returns, mold growth may resume.
How to Remove Mold Stains From Drywall
After mold removal, dark stains may remain on drywall surfaces. While staining does not always indicate active mold, it may affect appearance and signal deeper contamination.
Removing Surface Mold Stains
- Confirm the drywall is clean, dry, and firm before priming
- Use stain-blocking primer only after the moisture source is fixed
- Allow primer to dry completely before repainting
- Monitor the area for returning stains, odor, or softness
If stains return after treatment, hidden moisture or mold may still be present inside the wall. In these cases, further inspection may be required.
How to Keep Mold From Returning After Drywall Cleanup
After drywall mold cleanup, focus on keeping the repaired area dry so mold does not start growing again.
Key Steps to Prevent Mold From Returning
- Maintain indoor humidity between 30% and 50%
- Use exhaust fans in bathrooms and kitchens
- Repair plumbing leaks immediately
- Seal exterior wall leaks and window gaps
- Dry wet materials within 24–48 hours
- Monitor high-risk moisture areas regularly
- Improve airflow in enclosed spaces
If humidity is part of the problem, confirm the room’s conditions with the methods in how to test indoor humidity levels instead of guessing by feel.
For a full prevention strategy after mold removal, review our detailed guide on how to prevent mold behind walls.
Common Mistakes to Avoid When Removing Mold From Drywall
Many mold removal attempts fail because key safety or preparation steps were skipped. Avoiding these mistakes helps prevent contamination from spreading and improves long-term results.
Mold Removal Mistakes That Lead to Recurring Problems
| Mistake | Why It Causes Problems |
|---|---|
| Cleaning mold without fixing moisture source | Mold returns quickly after cleanup |
| Ignoring hidden mold behind walls | Contamination continues unseen |
| Using excessive water during cleaning | Adds moisture to drywall |
| Skipping containment procedures | Spreads mold spores to new areas |
| Failing to dry cleaned areas completely | Encourages mold regrowth |
If mold appears repeatedly in the same area, hidden moisture or structural problems may still exist. Review our guide on what causes mold in walls to identify underlying sources.
When to Call a Professional Mold Remediation Specialist
While small surface mold problems can often be handled by homeowners, certain situations require professional remediation. Attempting large mold removal projects without proper equipment can increase exposure risks and allow mold to spread.
Situations That Require Professional Mold Removal
- Mold covers large areas of drywall
- Mold has spread into wall cavities
- Strong musty odors persist
- Water damage lasted longer than 48 hours
- Mold contamination affects multiple rooms
- Occupants experience health symptoms related to mold exposure
Professional remediation teams use specialized containment and filtration equipment designed to prevent mold spread during removal.
For complete guidance on safe remediation procedures, visit our comprehensive resource:
How to Remove Mold Permanently
Frequently Asked Questions About Removing Mold From Drywall
Can mold be completely removed from drywall?
Small surface mold patches can often be removed successfully if moisture problems are corrected quickly. However, deeply embedded mold usually requires drywall replacement to fully eliminate contamination.
Does bleach kill mold on drywall?
Bleach may remove visible mold stains, but it is generally less effective on porous materials like drywall. Mold can remain beneath the surface, allowing it to regrow if moisture conditions persist.
How long does it take to remove mold from drywall?
Small surface mold cleanup may take several hours, but the area still needs time to dry fully before priming or repainting. Larger or deeper contamination may require removal, drying, and repair over multiple days.
Is mold on drywall always visible?
No. Mold often develops inside walls before becoming visible on surfaces. If you suspect hidden mold, review our guide on signs of mold behind walls to identify early warning indicators.
How do I stop mold from coming back after cleaning?
Preventing mold regrowth requires controlling moisture levels, maintaining proper ventilation, and repairing leaks quickly. Monitoring humidity regularly is one of the most effective long-term prevention strategies.
What to Do After Removing Mold From Drywall
Removing mold from drywall requires careful planning, proper safety equipment, and consistent moisture control. While small surface mold problems can often be cleaned successfully, deeper contamination typically requires drywall replacement to fully eliminate mold growth.
Successful mold removal always includes identifying the moisture source, cleaning affected materials safely, and maintaining stable humidity levels afterward. These steps reduce the risk of mold returning and protect both structural materials and indoor air quality.
For broader cleanup methods beyond drywall, use the main guide to remove mold permanently by correcting both mold growth and moisture sources.