How to Inspect Roof Vents for Blockages
To inspect roof vents for blockages, check each vent from the roof or ground where it is safely visible, then confirm the opening from inside the attic when possible. Look for leaves, pine needles, roofing granules, insect nests, animal activity, bent covers, blocked mesh, and insulation pushed against the vent opening.
Blocked roof vents can reduce attic airflow and allow humidity to linger near roof decking, insulation, and framing. If your attic already shows condensation, musty odors, or damp insulation, reviewing signs of poor attic ventilation can help confirm whether the blockage is part of a broader airflow problem.
Why Inspecting Roof Vents Matters
Roof vents allow warm, moisture-filled attic air to escape. When vent openings are narrowed by debris, nesting material, damaged covers, or clogged mesh, airflow slows and moisture can collect near roof decking and insulation.
Inspection matters because many vent blockages develop gradually. A vent may look normal from the ground while dust, shingle granules, leaves, or insect activity restrict the opening inside the housing.
If moisture problems have already developed, understanding why poor roof ventilation causes moisture problems can provide useful context. This article stays focused on finding physical vent blockages during inspection.
For broader roof failure context, this inspection fits within the larger roofing maintenance issues covered in common roofing material failures.
Types of Roof Vents That May Become Blocked
The inspection process depends partly on the vent type. Each roof vent has different blockage points, so identify the vents on the home before checking for obstruction.
- Ridge vents: Check the long vent channel along the roof peak. Mesh-style ridge vents can trap dust, roofing granules, and fine debris even when the exterior cap looks normal.
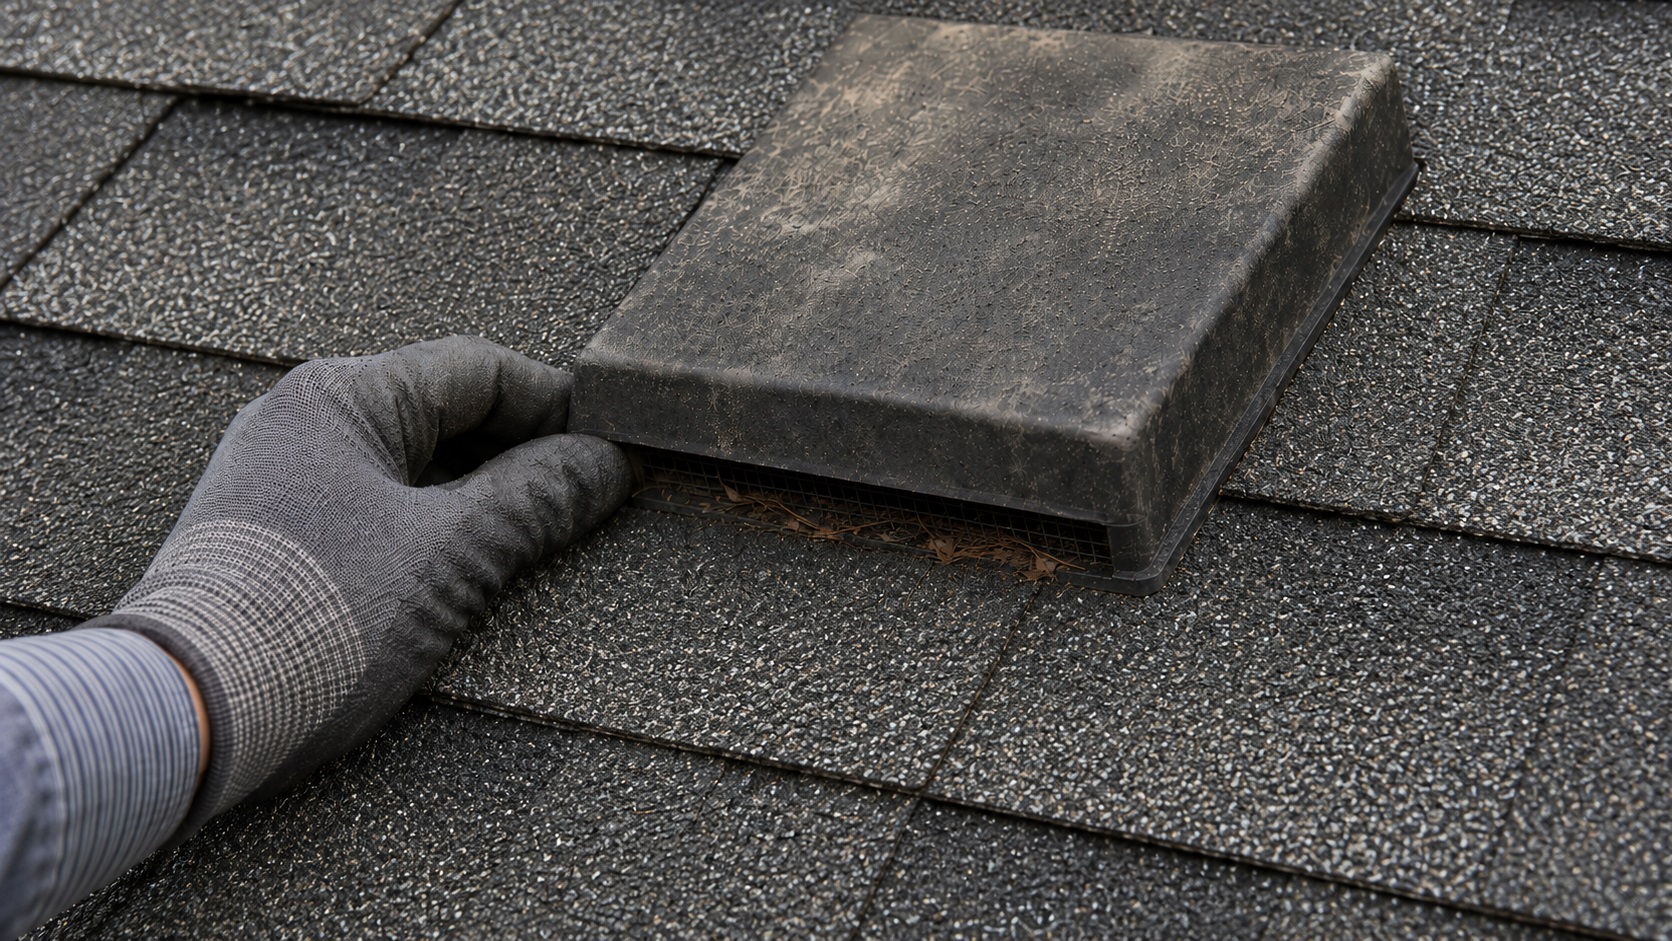
- Box vents: Check the lower edges, corners, and interior housing for leaves, pine needles, shingle granules, and nesting material.
- Roof cap vents: Check for animal nesting, blocked screens, damaged caps, and debris caught under the cover. Bathroom fan caps should also be checked for a working damper.
- Turbine vents: Check whether the turbine spins freely, sits straight, and is not blocked by debris, corrosion, or bent parts.
- Gable vents: Check louvers, screens, and attic-side openings for dust buildup, insect nests, stored items, or insulation blocking airflow.
Safety Precautions Before Inspecting Roof Vents
Inspecting roof vents often requires accessing elevated areas and moving through confined attic spaces. Taking proper safety precautions before beginning an inspection reduces the risk of injury and allows the process to proceed safely.
Roof surfaces may become slippery due to moisture, debris, or weather conditions. Attempting inspection during unsafe conditions increases the likelihood of falls or accidental damage.
Before starting any inspection, confirm that weather conditions are stable and that roof surfaces are dry. Avoid roof access during rain, strong winds, snow, or icy conditions.
Do not climb onto a steep, high, wet, brittle, or damaged roof just to inspect a vent. In many cases, you can inspect visible vent conditions from a ladder, the ground with binoculars, or from inside the attic, and leave roof access to a qualified roofing professional.
Use Proper Ladder Safety
Use a stable ladder on firm, level ground, and inspect it before climbing. The ladder should extend above the roof edge if roof access is necessary, and you should maintain three points of contact while climbing.
Avoid placing ladders on uneven soil, wet surfaces, loose gravel, or unstable materials. If the ladder setup feels questionable, stop the inspection and use ground-level or attic-side observations instead.
Wear Protective Gear
Protective clothing improves safety during roof and attic inspections. Gloves help protect hands from sharp roofing materials, debris, and rough surfaces.
Eye protection reduces the risk of injury from falling debris or dust disturbance. In attic spaces, protective masks may help limit exposure to dust, insulation particles, and airborne contaminants.
Wearing footwear with good traction helps improve stability while walking on roof surfaces.
Move Carefully Inside the Attic
Attic movement requires careful attention to footing and structural support. Walking directly on insulation can lead to falls through ceiling materials if framing members are not located.
Move slowly and step only on visible framing components such as joists or structural supports. Using a portable light source improves visibility and helps identify safe walking areas.
Attic spaces often contain exposed wiring, nails, and irregular surfaces. Awareness of these hazards helps prevent accidental injury.
Taking time to prepare safely before inspection helps ensure that the process can be completed without unnecessary risk.
Step-by-Step Roof Vent Inspection Process
A systematic inspection process improves the chances of identifying airflow restrictions and blockage conditions. Following a consistent sequence helps ensure that important inspection areas are not overlooked.
Roof vent inspection generally begins with exterior observation and continues with attic-side evaluation. This combined approach provides a clearer understanding of airflow conditions and blockage risks.
- From outside, look for debris, bent covers, clogged screens, damaged caps, and blocked vent edges.
- From inside the attic, look for light at vent openings, visible debris, blocked channels, damp insulation, condensation, and insulation pushed into airflow paths.
- After storms or heavy leaf drop, recheck vents that sit near trees, valleys, or areas where debris collects.
Step 1 — Inspect Roof Vents from the Exterior
Exterior inspection provides the first opportunity to identify visible blockage conditions. Many airflow problems originate from debris accumulation on or around vent openings.
Begin by visually locating all roof vents along the roof surface. Identify ridge vents along the roof peak, box vents across the roof field, and any roof cap or turbine vents that extend above the roof surface.
Look for visible debris surrounding each vent. Leaves, pine needles, and roofing material particles often accumulate near vent openings and restrict airflow.
Check for signs of physical damage such as bent covers, broken components, or displaced vent sections. Damage may allow debris to enter or restrict airflow pathways.
Observe vent covers carefully to determine whether debris appears trapped inside the vent housing. Accumulated debris may reduce airflow even when the vent exterior appears intact.
If multiple vents show debris buildup, airflow performance may already be reduced. In these situations, reviewing how to detect inadequate roof ventilation can help determine whether airflow has been affected.
Step 2 — Check Vent Openings for Debris
After identifying visible vent locations, inspect the openings themselves for signs of obstruction. Debris may settle inside vent openings and gradually restrict airflow.
Common debris sources include leaves, dust, insect nesting materials, and roofing granules. These materials can collect inside vent openings and reduce airflow capacity.
Examine vent openings carefully to identify whether airflow paths appear narrowed or blocked. Pay attention to areas where debris accumulates most easily, such as corners and protected spaces.
Ridge vents deserve special attention because their long, continuous design allows debris to collect gradually over time. Dust and roofing particles may settle inside ridge vent channels and restrict airflow without being immediately visible.
If ridge vents appear consistently restricted or repeatedly collect debris, this may indicate that airflow performance is declining. Continued airflow restriction can contribute to moisture buildup inside attic spaces.
Step 3 — Inspect Vents from Inside the Attic
After completing exterior observations, inspecting roof vents from inside the attic provides valuable confirmation of airflow conditions. Some blockages are not visible from outside and can only be identified by examining vent openings from within the attic.
Begin by locating each vent opening from inside the attic space. Ridge vents will appear along the roof peak, while box vents and roof cap vents will be visible as openings extending through the roof decking.
Use a flashlight or portable work light to illuminate the vent interior. Look for signs of debris buildup inside the vent channel. Dust accumulation, insect nests, and insulation particles are common materials that restrict airflow.
Pay close attention to areas where vent openings appear partially obstructed. Even small debris clusters can reduce airflow efficiency over time.
Light penetration can help confirm that some vent openings are open, but lack of visible light is not always proof of blockage because some vent designs use baffles, louvers, or internal covers. Treat missing light as a clue, then check for debris, insulation contact, damp materials, or other obstruction signs.
If airflow appears restricted or moisture buildup is visible near vent openings, reviewing signs of poor attic ventilation can help determine whether broader ventilation problems are developing.
Step 4 — Check for Airflow Obstruction
After visually inspecting vent openings, the next step involves evaluating whether airflow movement appears restricted. Proper ventilation depends on consistent air movement through vent channels.
Airflow obstruction may not always be visible as solid debris. In some cases, airflow slows due to gradual buildup of fine materials such as dust or roofing granules.
Observe insulation placement near vent openings. Insulation that shifts toward vent channels may partially block airflow pathways and reduce ventilation performance.
If the obstruction appears near the eaves rather than at the roof vent itself, the issue may involve soffit intake vents or missing baffles instead of the roof exhaust vent. Keep this article focused on roof vent blockages, then inspect soffit vents separately if intake airflow appears restricted.
Check for signs of moisture accumulation near vent openings. Damp insulation, water staining, or condensation patterns may indicate that airflow movement has slowed or stopped.
Restricted airflow often contributes to humidity buildup inside attic spaces. If moisture patterns appear near vent locations, understanding why poor roof ventilation causes moisture problems can help connect airflow issues to moisture behavior.
Step 5 — Look for Signs of Seasonal Blockage
Seasonal conditions often explain why vents that looked clear earlier become restricted later. After fall leaf drop, check for leaves and pine needles around ridge vents, box vents, and roof caps. After storms, check for shingle granules, broken debris, or displaced vent parts. In winter climates, check whether snow or ice temporarily blocks vent openings. During warmer months, look for insect activity inside protected vent housings and screens.
Recognizing these seasonal patterns helps you inspect the most likely blockage points instead of only checking vents after moisture problems appear.
Common Causes of Roof Vent Blockages
Most roof vent blockages come from a few predictable sources:
- Leaves and pine needles: Common near trees, valleys, and roof areas where wind pushes debris toward vent openings.
- Roofing granules and dust: Common on aging asphalt shingle roofs and after storms or roof work.
- Insect nests: Common inside protected vent housings, screens, and caps.
- Animal activity: Birds, rodents, and other animals may block vent openings with nesting material.
- Insulation movement: More common at intake areas and attic-side openings where loose insulation shifts into airflow paths.
When Mesh Ridge Vents May Be Part of the Blockage Problem
During roof vent inspections, ridge vents deserve special attention because their performance has a major impact on overall attic airflow. Some ridge vent systems use flexible mesh materials that are more vulnerable to clogging than rigid designs.
Mesh-type ridge vents often trap fine debris such as roofing granules, dust, and insect material. Over time, these materials accumulate within the mesh structure and reduce airflow capacity. Even when the ridge vent appears intact from the exterior, internal airflow may be significantly restricted.
Repeated clogging patterns are a strong indicator that the ridge vent design may no longer provide adequate airflow. If ridge vents consistently show debris buildup during inspections, airflow performance may decline gradually without obvious structural damage.
If a mesh-style ridge vent appears packed with fine debris, flattened, or restricted across long sections, document the pattern before attempting cleanup or repair. The issue may involve debris buildup, vent design, or installation problems.
Homeowners who see recurring ridge vent blockages should document where the restriction appears, how often debris returns, and whether moisture signs are also present near the roof peak. That pattern can help a roofing professional decide whether the issue is simple debris buildup, vent design, installation, or a larger ventilation imbalance.
For a detailed explanation of airflow differences between ridge vent designs, reviewing mesh vs rigid ridge vents: which works better? can provide useful insights into long-term performance differences.
If the ridge vent clogs repeatedly, appears flattened, traps debris across long sections, or contributes to recurring moisture conditions near the roof peak, it may need professional evaluation. This inspection can identify the blockage pattern, while broader repair decisions belong with roof ventilation repair guidance.
How Often Roof Vents Should Be Inspected
Most homes should have roof vents checked at least twice per year, with extra attention after storms, heavy leaf drop, nearby tree shedding, or roof work.
Fall inspections are particularly important in areas with trees. Leaves and organic debris frequently collect around vent openings during this season.
Winter inspections may be necessary in regions that experience snow or freezing conditions. Ice formation near vent openings can temporarily restrict airflow.
Additional inspections may be needed after severe weather events. High winds and storms often move debris into vent openings, while snow and freeze-thaw cycles can temporarily restrict airflow. For broader roof-aging context, see how weather affects roof lifespan.
If moisture conditions begin to develop despite routine inspection, reviewing how to prevent moisture problems with proper roof ventilation can help strengthen long-term preventive strategies.
When Professional Inspection Is Recommended
While many roof vent inspections can be performed safely by homeowners, certain conditions may require professional evaluation. Complex roof designs, steep slopes, or difficult roof access increase the risk of injury during inspection.
Professional inspection may also be necessary when attic moisture continues but the vents look clear. In that case, the problem may involve intake/exhaust imbalance, blocked soffit vents, poor baffle placement, undersized ventilation, or hidden roof moisture rather than an obvious roof vent blockage.
Signs that professional inspection may be necessary include persistent moisture problems, visible mold development, or recurring condensation despite routine maintenance.
If airflow problems continue after inspection attempts, reviewing how to detect inadequate roof ventilation can help determine whether additional airflow testing may be required.
FAQ: How to Inspect Roof Vents for Blockages
Can I inspect roof vents without climbing onto the roof?
Yes. Many visible blockage signs can be checked from the ground with binoculars, from a ladder at the roof edge, or from inside the attic. Do not climb onto steep, brittle, wet, or damaged roof surfaces just to inspect a vent.
What blocks roof vents?
Common roof vent blockages include leaves, pine needles, dust, roofing granules, insect nests, and animal activity. Seasonal debris buildup is one of the most frequent causes of restricted airflow.
How do I know if my ridge vent is clogged?
A clogged ridge vent may show trapped debris along the ridge slot, little or no attic-side opening, damp roof decking near the peak, or repeated dust and granule buildup in mesh-style vent material.
How often should roof vents be inspected?
Most homes benefit from inspecting roof vents at least twice per year, especially during fall and spring seasons when debris accumulation is most likely.
Can blocked roof vents cause attic condensation or mold?
Yes. Blocked roof vents can reduce exhaust airflow and allow humid attic air to linger. If moisture repeatedly collects on roof decking, framing, or insulation, condensation and mold risk increase.
Conclusion
A good roof vent inspection checks both sides of the ventilation path: visible exterior openings and attic-side airflow conditions. Focus on debris, clogged mesh, nesting material, damaged covers, blocked screens, insulation contact, and moisture patterns near the vent openings.
If blockages return after cleaning, roof access is unsafe, or condensation and damp insulation continue after vents appear open, have the ventilation system evaluated professionally instead of assuming the visible vent is the only problem.